Bulwark & Toe Rail
Image Gallery
Project Logs
November 22, 2011
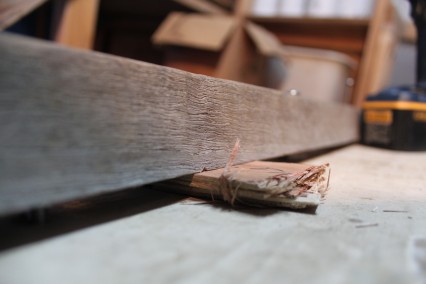
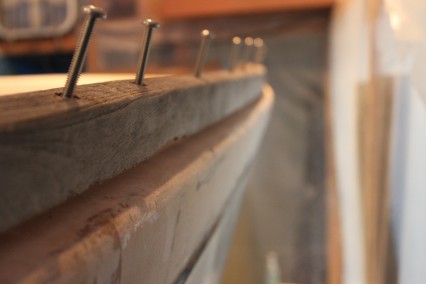
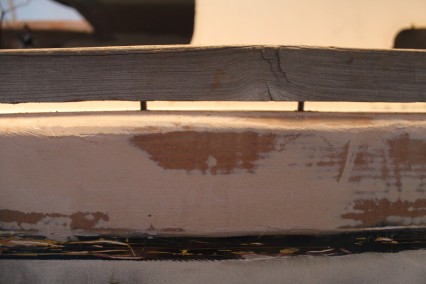
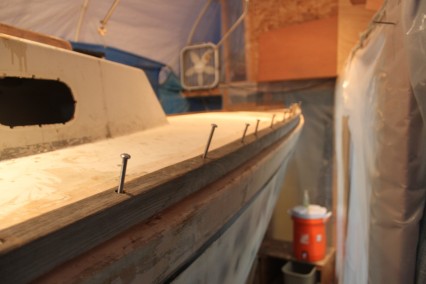
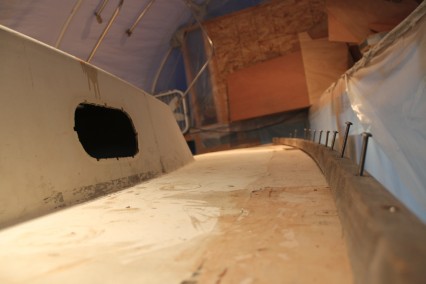
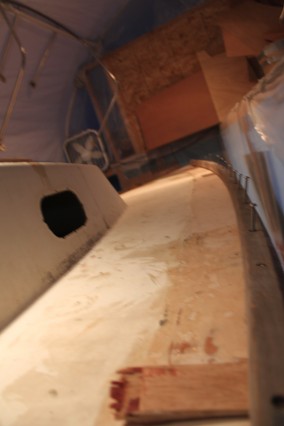
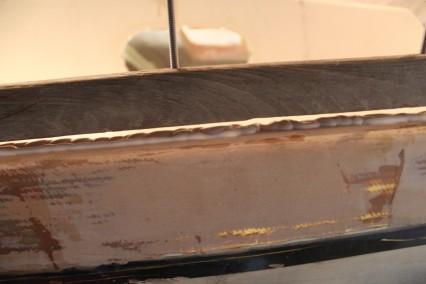
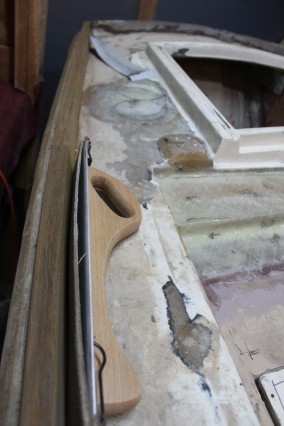
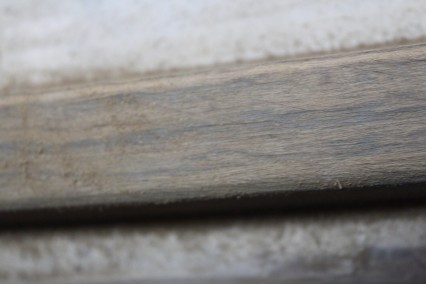
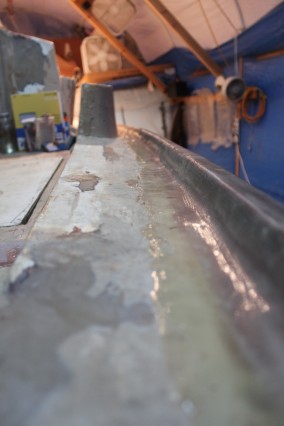
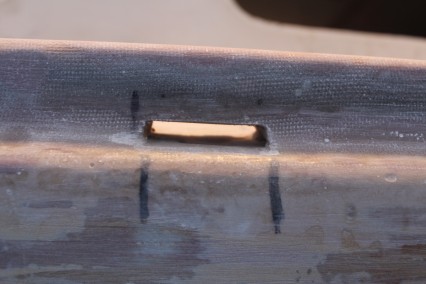
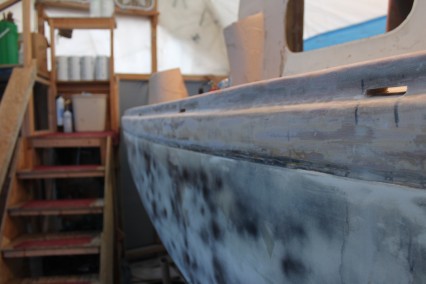
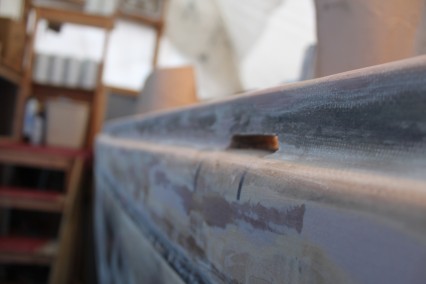
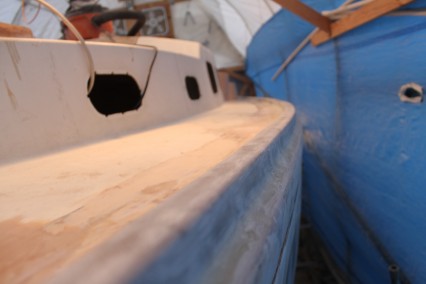
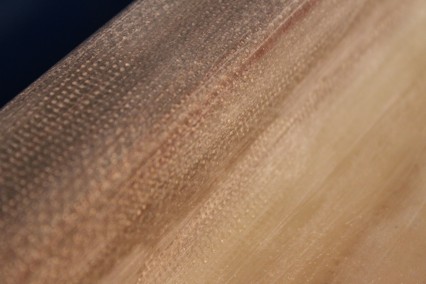
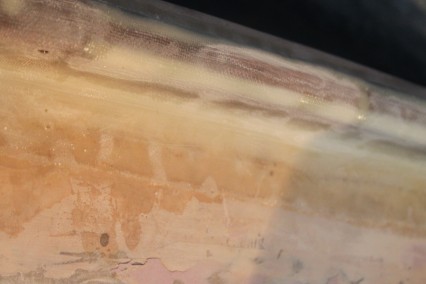
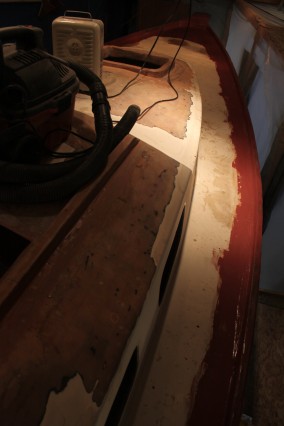
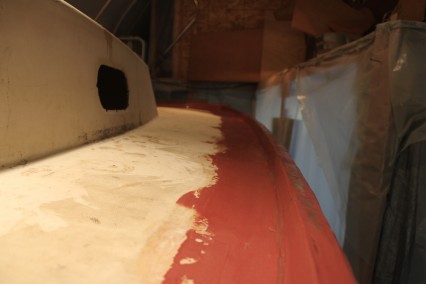
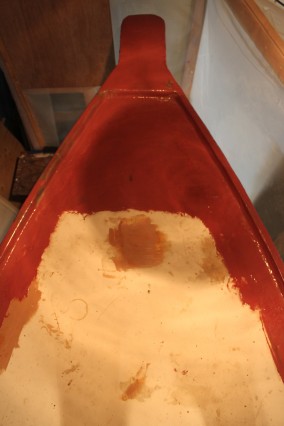
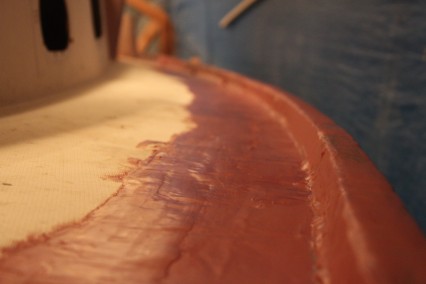
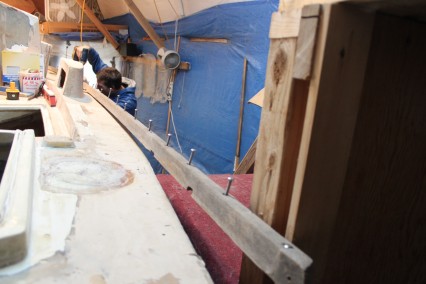
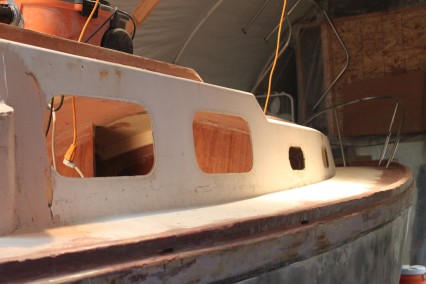
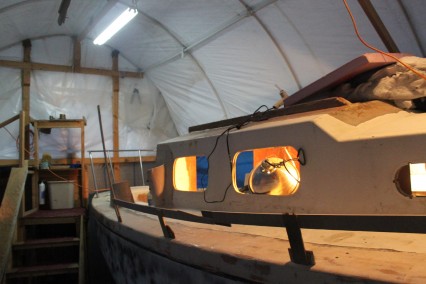
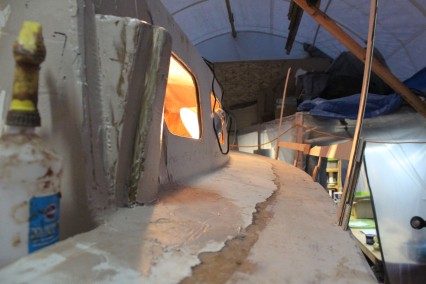
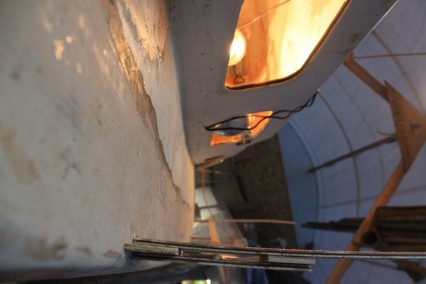
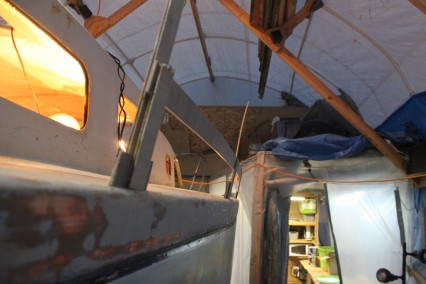
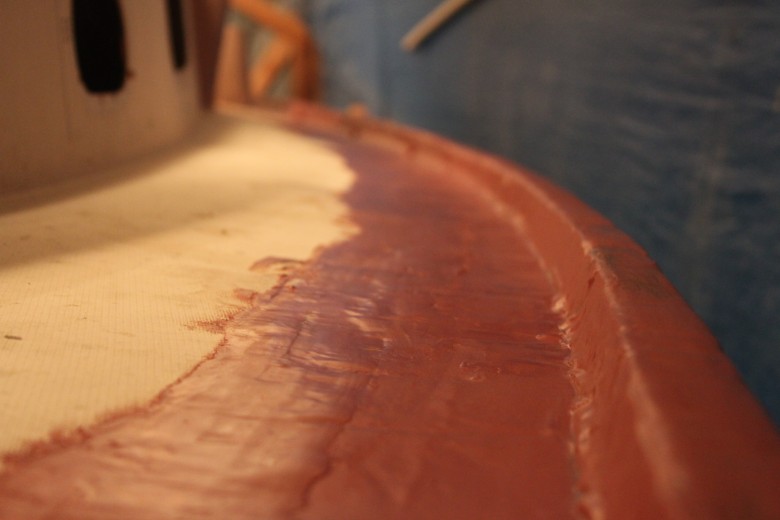
I spent the past weekend continuing my work on the toe rail. I faired the entire toe rail, plus the bow platform. Fairing was especially necessary, because when I first laid the fiberglass + filet, I found that the thickened epoxy filet had impressions underneath the thin, 14 oz. cloth. This resulted in what I can only describe as a “bumpy” toe rail. Here’s an image to explain what I mean:
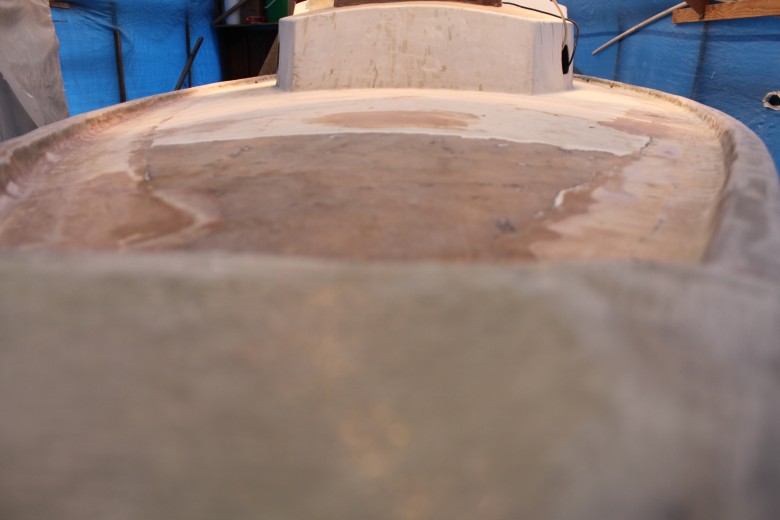
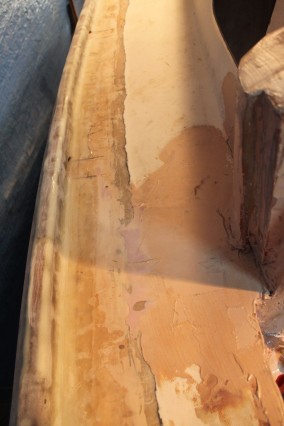
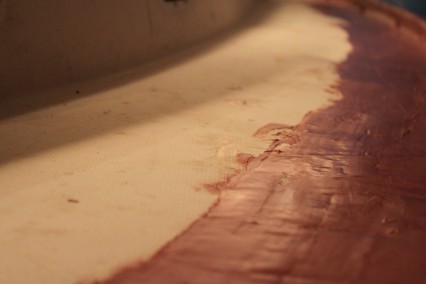
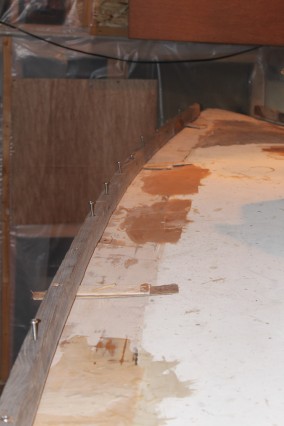
If you look down the port toe rail, you can see how the toe rail looks “bumpy” due to the unevenly spread epoxy thickener below
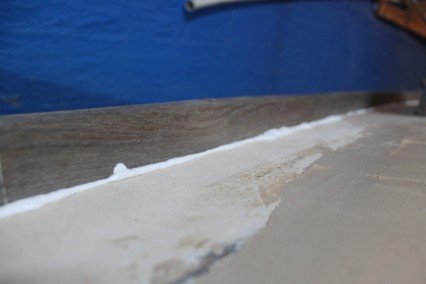
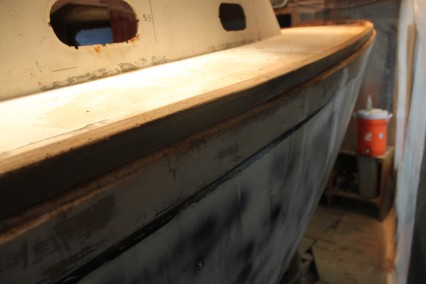
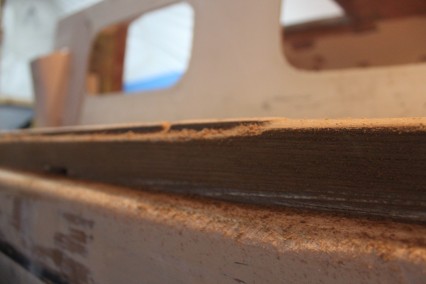
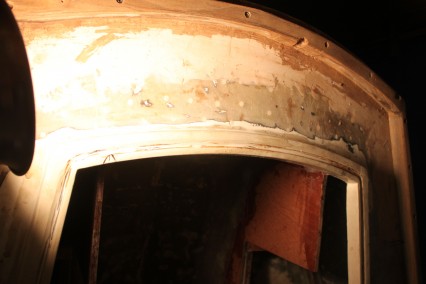
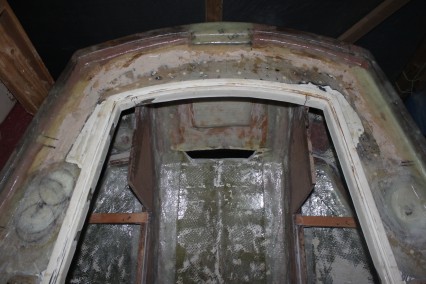
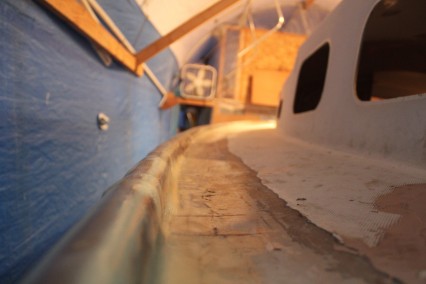
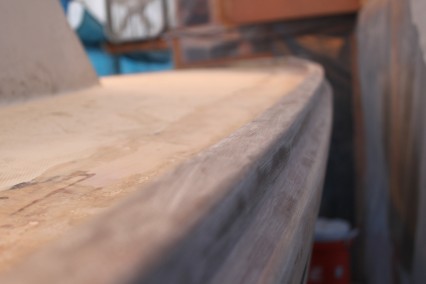
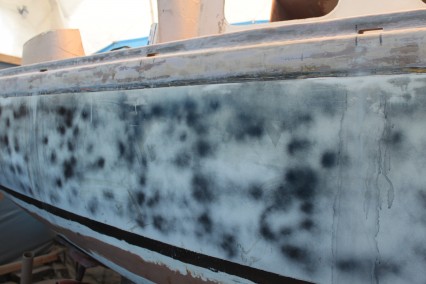
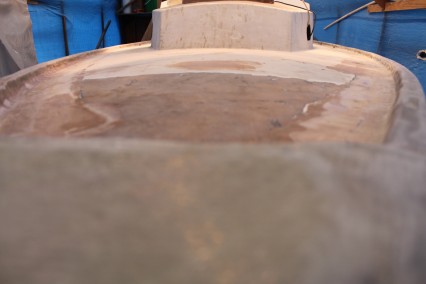
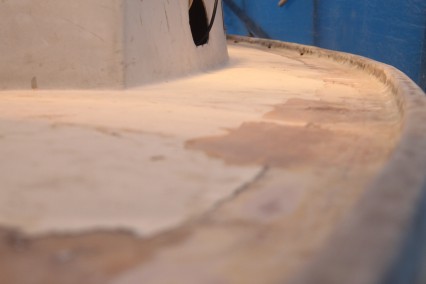
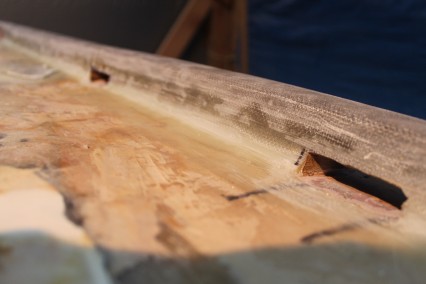
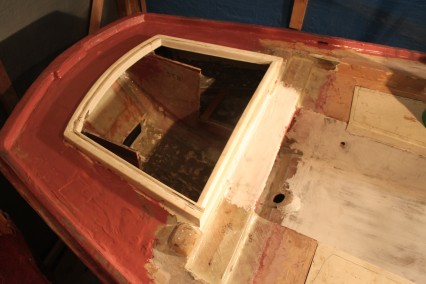
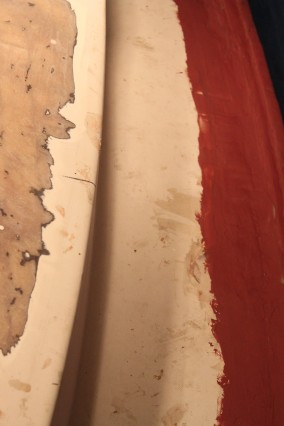
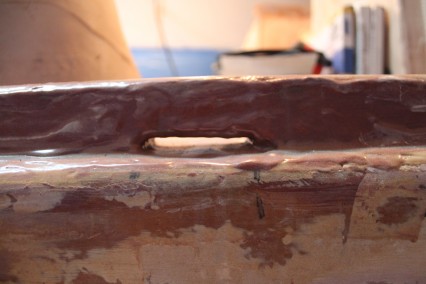
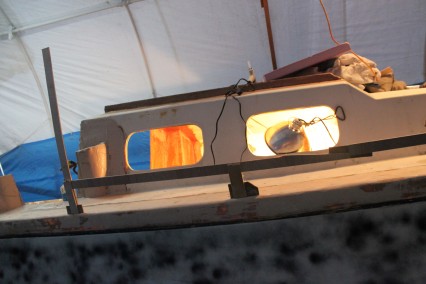
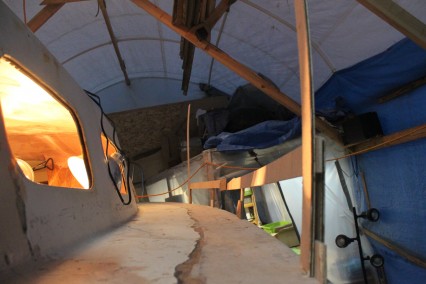
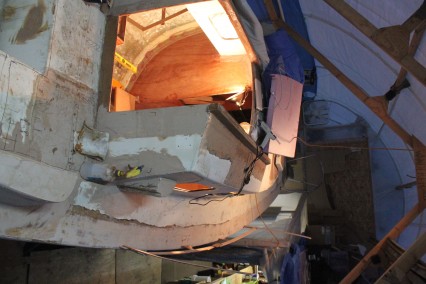
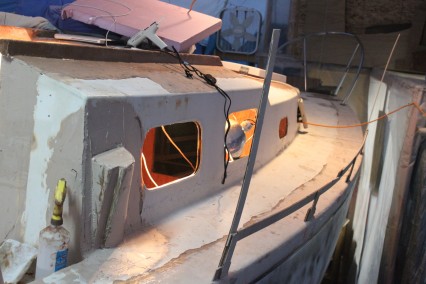
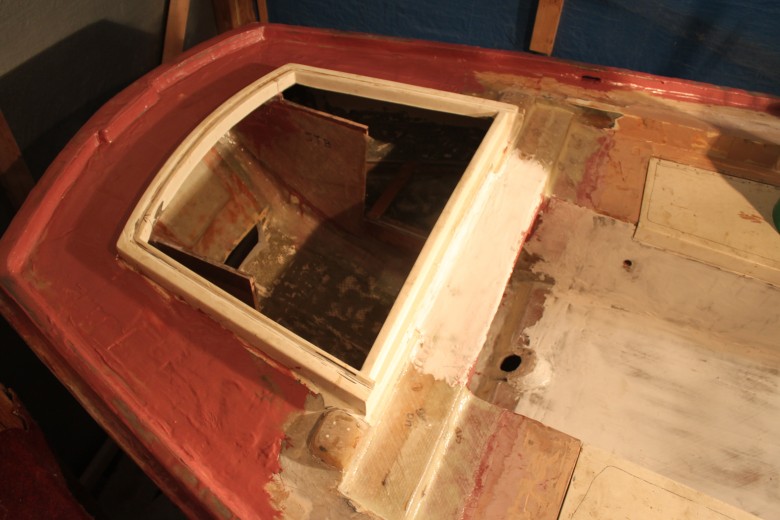
So, to solve this, I sanded the toe rail down as best I could. In some spots, unfortunately, I had to sand down through a layer of fiberglass. This isn’t ideal, because sanding through fiberglass layers essentially weakens the bond between the fiberglass, toe rail and deck, however there weren’t too many spots I needed to do this in. Once sanding was complete, I put on the first coat of fairing. I’ll definitely be hitting this fairing with some more sanding, plus another round of fairing/sanding or two, but overall I really liked how it turned out. See the first results of fairing below:
November 10, 2011
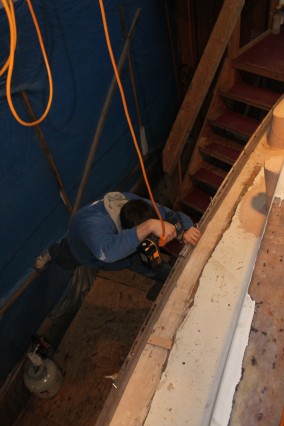
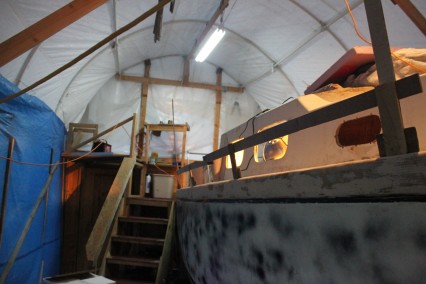
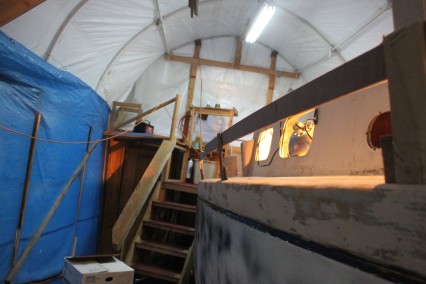
Over the past few days I’ve been working on installing the toe rail. I’ve had my friend Ben Young working with me for the past 3 nights. Overall, the toe rail took me 4 days to fully install on deck. I’ve decided to give an overview of what I did each day to paint a picture of the steps required to complete this project:
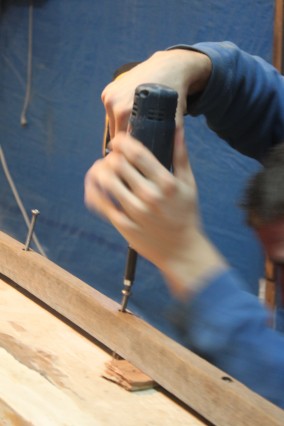
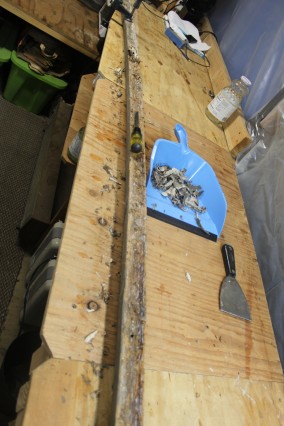
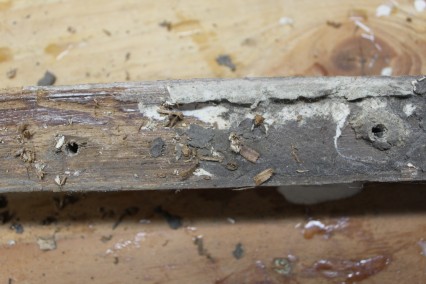
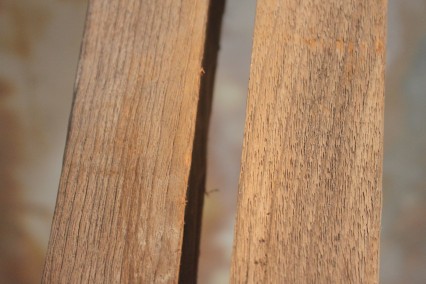
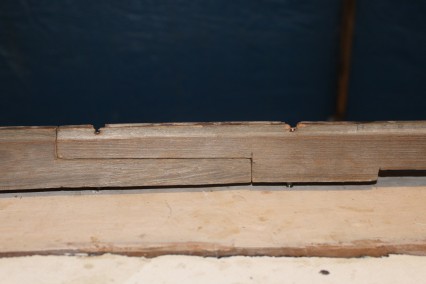
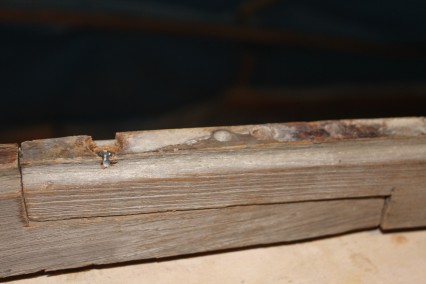
+ Day 1 – I began by cleaning up the old toe rails. I removed all the old caulking and sanded the toe rails to make for easier handling. Once cleaned, I moved the toe rails on deck and aligned the forward toe rails with the bow platform. I would install one, 1/4″ fastener at a time. I would drill a hole in the same location as the original fasteners had been starting with the forward most hole. I slowly worked backwards until the forward toe rails were both on. Then, using the same “drill a hole, install fasteners forwards to back” technique, I installed the aft toe rails.
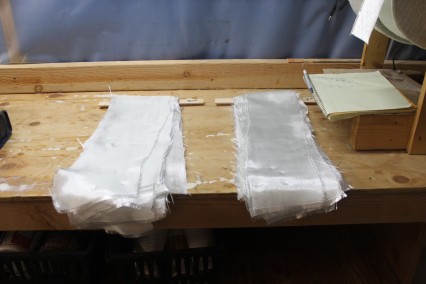
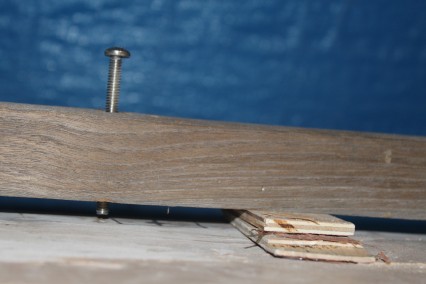
+ Day 2 – Ben and I installed 1 toe rail today. I removed the fasteners I had installed the previous day, then inserted shims between the toe rail and the deck, allowing us to put 5200 caulking below the toe rail. Once the caulking was in place, I drilled the fasteners through the deck and Ben installed the nuts and washers below deck. Ben also cut all the glass for the toe rail layup using 2 layers of 7.5 oz cloth. One layer was 14cm, the second layer was 18 cm.
+ Day 3 – Ben and I installed the second toe rail today using the same 5200 + 1/4″, 3″ fasteners. We also thickened the bow platform and aft toe rail into place. I then sanded the toe rails and trimmed any areas that were slightly out of alignment using my oscillating saw.
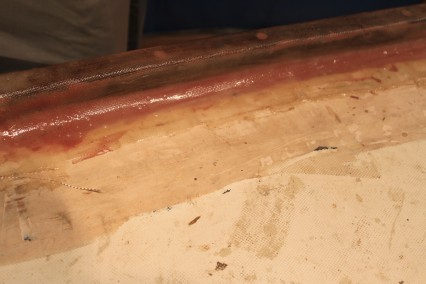
+ Day 4 – This was a big fiberglass day. Ben helped me for a few hours and we installed the bow platform glass, plus the port toe rail. I finished up by glassing in the starboard and aft toe rail. I also made sure to install a block on the aft toe rail to mount a stern anchor roller.
November 9, 2011
I’ve decided to add toe rails to the boat instead of bulwarks.
Research
Bulwarks
- Obviously they keep the deck a little drier…on a major heel they can provide a good walking surface, or if not high enough, at least a ledge against which one can wedge one’s feet. In any rough sea the psychological comfort they provide through their visual massiveness, can be of value…the most vital service…is to reinforce the stanchions. (From a Bare Hull)
- With bulwarks of any height you have to the opportunity to install stanchions that will actually serve some purpose. The stanchions can be so fabricated as to bolt through the bulwarks at well spread points. This reinforcement will shorten the treacherous lever arm and make the term lifelines less of a joke. (From a Bare Hull)
- In place of toe rails, we added a 1” x 4” teak bulwark 34 feet long set ¾” above the deck on each side. The bulwarks are fastened every six feet to vertically placed fore-and-aft Everdur plates (5/32” x 3 ¼” x 3 ¼” inches) that I had welded on the outsides of the bronze stanchion bases. The bulwarks has been a complete success because it is higher (for safety) and because the ¾” space underneath allows any water that lands on deck to run off at once. Our decks are much drier than previously. Also, the space under the bulwarks reduces some of the force of boarding waves that might otherwise tend to break the bulwarks (After 50,000 miles, p. 44)
- Sure footing at the perimeter of the deck is essential…Adding 6” bulwarks [is best]. New Found Metals of Pot Townsend, WA, makes handsome cast bronze fitting for hardwood bulwark ends that accept 3 5/16 boards. Elevating the boards 1” off deck allows water to run off…Also plan on hawse-holes, so you can sell use your breast cleats. One can’t begin to appreciate the sense of security good bulwarks provide until sitting on the foredeck in a gale, trying to change jibs. (Upgrading the Cruising Sailboat, p. 184)
- The cruising boat needs several pairs of hawse-holes (hole sin the bulwarks through which mooring and anchoring lines are led) or sturdy chicks (a fitting on the caprail or bulwark that services the same purpose). These should include a pair up forward (port and starboard), a pair amidships (used for spring lines and maneuvering on and off docks) and a pair aft (for the stern anchor). In all cases, the must lead to substantial cleats through-bolted to the deck or bulwarks with large backing blocks. In addition to brute strength, the other critical installation feature is to minimize chafe to rodes…the farther a cleat from its hawsehole or fairlead, the greater is the stretch and sag in the rode under changing loads, and the greater its sawing action….if the boat has substantial enough bulwarks, using the kind of hawsehole that has cleat horns built into it represents the best setup. This almost completely eliminates chafe and, short of the bulwarks being torn out of the boat or the horns breaking off, the cleat is not going to let go. (Cruising Handbook, p. 109)
- Bulwark mounted cleats do not provide a fairlead from the bow rollers to the cleats, so they need to be backed up with either two more large cleats in line with the bow rollers, or some kind of samson post (a strong post mounted through the foredeck) or bitts (two strong posts generally at the base of a bowsprit designed to absorb its compression loads). (Cruising Handbook, p. 109)
- At all times, the locations of hawseholes, fairleads, cleats, and posts relative to a windlass and the forestays must be such that it is possible to handle the ground tackle without getting fouled up in rigging. (Cruising Handbook, p. 109)
Comment Form